The Showroom Trap: Why Default Settings Are Designed to Deceive
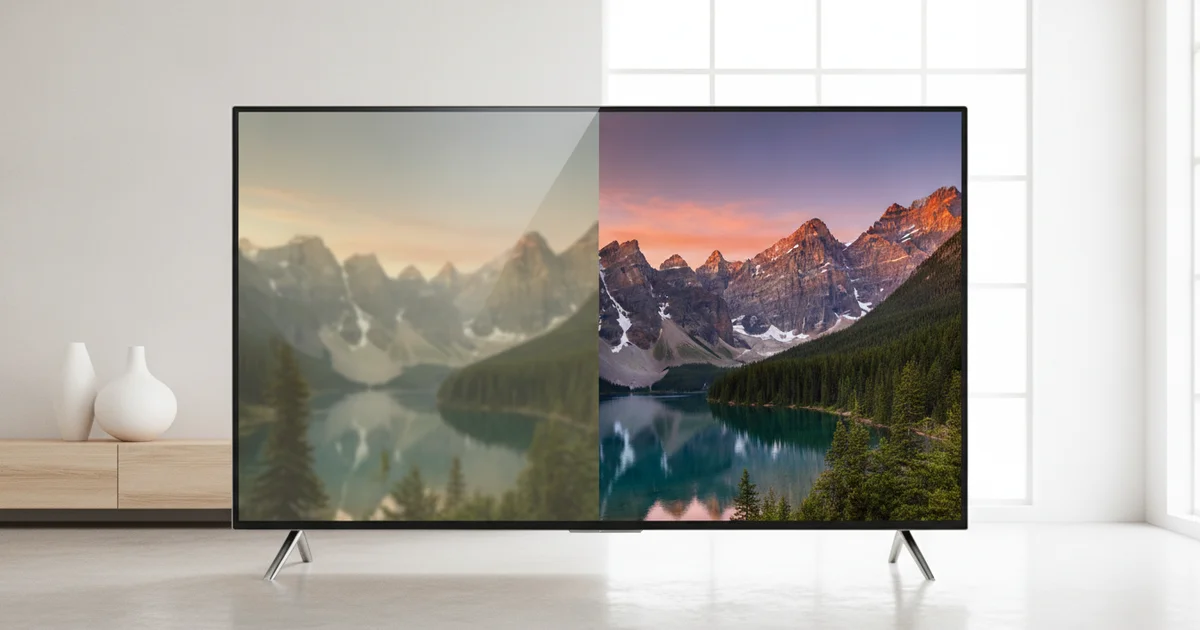
Hisense ships every TV in Vivid or Dynamic picture mode by default. This is not an accident. Retailers demand it. Under the harsh fluorescent lighting of a Best Buy or Walmart floor, a television needs to scream for attention — punching up brightness, cranking color saturation past any realistic level, and maxing out contrast to beat the ambient glare. The settings that win a sale on a showroom floor are exactly the wrong settings for watching content at home.
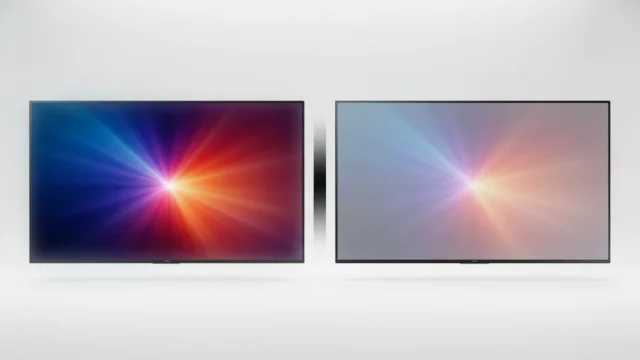
Once that TV sits in your living room, Vivid mode becomes a liability. The artificially boosted backlight washes out shadow detail, flattening the dark scenes that cinematographers carefully graded. Oversaturated colors turn skin tones orange and push greens and blues far outside what the original content contained. After 30 to 60 minutes, the hyper-stimulated image causes genuine eye fatigue — your visual system is working overtime to process light levels calibrated for a warehouse, not a room.
Hisense builds surprisingly deep picture menus, covering everything from basic brightness and contrast sliders to advanced controls like color space management and Calman calibration support. That depth is genuinely useful — but it also means the path from bad default settings to accurate picture quality runs through multiple menu layers that most owners never navigate. The majority of Hisense TV owners plug in, accept the factory preset, and watch a degraded image for the life of the set.
The single highest-impact move is switching the picture mode away from Vivid entirely. Hisense’s Filmmaker Mode or Cinema mode processes the image far closer to what directors and colorists actually intended, reducing unnecessary post-processing and restoring color accuracy. This one change — before touching a single other setting — recalibrates the baseline for every other adjustment that follows. Everything else in the Hisense picture menu builds on top of this foundation. Get the mode wrong, and no amount of fine-tuning fixes the image underneath.
The 12 Settings That Actually Matter — and Why Most Owners Ignore Them
Hisense builds a picture menu deep enough to satisfy professional calibrators, yet most owners tap through the first screen, adjust brightness to taste, and call it done. That’s a mistake that costs real picture quality every time you sit down to watch.
The full menu spans 12 meaningful settings, split between surface-level controls and advanced adjustments that most owners never find. Basic controls — brightness, contrast, sharpness, color saturation — sit at the top. Beneath them live the settings that actually separate a well-calibrated Hisense from a factory-default one: local dimming behavior, color temperature, color space, noise reduction, and motion processing.
Motion smoothing sits at the top of the fix list. Hisense enables it by default, and it forces every piece of content — film, drama, sports — through a frame interpolation process that generates artificial frames. The result is the soap opera effect: actors moving against backgrounds with an unnatural, hyper-real smoothness that strips cinematic content of its intended look. Turning it off takes 30 seconds and immediately restores the visual texture directors intended.
Local dimming controls how aggressively the TV dims individual zones of the backlight to deepen blacks. The default setting is rarely optimal. Set too high, it creates blooming halos around bright objects on dark backgrounds. Set too low, it surrenders contrast. Finding the right level for your room and content type makes a measurable difference in perceived image depth.
Color temperature is the third major fix. Hisense ships most sets in a Warm or Standard color temperature mode that pushes whites toward yellow or blue depending on the model. The calibration target for accurate color reproduction is D65, a specific white point standard used in film and broadcast mastering. Selecting the Warm2 or equivalent option on Hisense sets gets closest to that target without external hardware.
The discovery problem is real. Hisense labels these settings with technical or vague names — “MEMC” for motion processing, “Adaptive Contrast” for local dimming behavior — and buries them under submenus that carry no obvious connection to the picture flaws they fix. Manufacturers have no commercial incentive to make this easier; the TV already sold. The fix sits in the menu. Most owners just never find it.
Advanced Tools Most Users Don’t Know Exist: Calman Calibration and Color Space
Buried inside your Hisense TV’s picture menu sits a feature most owners scroll past without a second glance: Calman calibration support. Calman is professional-grade color calibration software used by display technicians to align a screen’s output with established industry color standards. When paired with a compatible colorimeter — a hardware probe that reads light output directly from the screen — Calman can automatically push your Hisense TV’s color accuracy to a level that manual adjustments rarely achieve. The catch is that the hardware costs money, and Hisense doesn’t include it in the box. Still, the fact that a mid-range television brand ships with this capability at all is significant.
Color space adjustment is the other tool that goes untouched in most living rooms, and ignoring it actively degrades picture quality. SDR content, HDR10 material, and Dolby Vision titles are each mastered in different color spaces — meaning they were graded by studio engineers against specific color volume targets. When your TV applies a single color space setting across all content types, it misrepresents what the creators intended. Hisense’s color space controls let you match the display’s output to the format being played, so an HDR10 film renders with the wider color gamut it was built around, while standard broadcast content doesn’t get artificially pushed beyond its intended range.
Together, these features reflect a broader shift in the TV industry. Manufacturers are embedding professional display calibration tools into consumer hardware — Hisense picture settings now include capabilities that, even five years ago, lived only in commercial monitors and reference displays. The problem is pure awareness. Most Hisense TV owners never open the advanced picture settings menu at all, let alone explore color management or auto-calibration options. The tools exist to produce accurate color reproduction, proper white balance, and tighter gamma tracking. Using them requires either an investment in calibration hardware or a willingness to manually match color space settings to content type — neither of which the default setup guide ever mentions.
What Most Coverage Misses: Context-Dependent Settings
Most “best settings” guides for Hisense TVs hand you a single list of numbers and call it done. That approach fails you every time the sun goes down.
Daytime viewing in a bright room demands different brightness and contrast levels than a darkened bedroom at midnight. A backlight setting that looks punchy at noon washes out black levels by 10 PM. Hisense’s picture menu lets you save custom picture modes tied to specific inputs, which means you can build one configuration for morning news and a separate one for late-night film watching — without ever touching a slider mid-show.
Content type creates an equally important split that most guides ignore entirely. Sports broadcasts benefit from smoother motion interpolation, where Hisense’s motion enhancement settings reduce blur during fast panning shots. Films shot at 24fps look better with those same motion settings dialed back or off entirely, since interpolation produces the artificial “soap opera effect” that kills cinematic atmosphere. Gaming requires a completely different priority: input lag reduction. Activating Game Mode on Hisense sets cuts processing delay significantly, but it disables several picture enhancements in the process — a trade-off guides rarely spell out clearly.
The household problem compounds everything. Two people sharing one Hisense television almost always end up with a single compromised picture mode that serves neither of them well. One person prefers cooler color temperatures for daytime content; another wants warmer tones for evening viewing. Hisense’s per-input custom modes solve this directly. Assign one HDMI input’s picture profile to your gaming console with Game Mode active, and configure the streaming app input separately with Cinema or Filmmaker Mode settings. Each input retains its own configuration independently.
The reset button buried at the bottom of the picture settings menu means experimenting carries no permanent risk. Build multiple profiles, test them against actual viewing conditions, and revert anything that doesn’t hold up. Treating Hisense TV picture calibration as a living set of configurations rather than a one-time fix is the difference between a television that looks good once and one that performs correctly every time you turn it on.
The Bigger Picture: What Hisense’s Menu Depth Tells Us About the Budget TV Market
Hisense builds televisions that routinely sell for $300 to $500 and ships them with Calman calibration support — the same professional-grade color accuracy workflow that custom installers use on displays costing five times as much. That single fact exposes something the TV industry rarely advertises: the hardware gap between budget and premium panels has collapsed faster than anyone expected.
What hasn’t collapsed is the knowledge gap. A Hisense U-series owner sitting in front of a menu that offers white balance adjustments, color space controls, and gamma curve tuning has access to tools that would have required a $2,000 Sony or Samsung just a few years ago. Most owners never touch those settings. They accept the default Vivid or Standard picture mode, live with artificially boosted color saturation and sharpness enhancement cranked to maximum, and assume that’s just how the TV looks.
The manufacturers understand this dynamic. Hisense, TCL, and every other volume TV brand designs out-of-box presets to pop on a bright showroom floor, not to render accurate color in a living room. Keeping the average buyer in a suboptimal preset costs the brand nothing. The calibration tools sit dormant in the menu, technically available, practically invisible.
That gap is exactly where third-party calibration services and guided setup applications are building real businesses. Apps like the Disney WoW calibration disc, professional tools like Calman Home, and the growing category of TV tuning guides exist because the hardware manufacturers have no financial incentive to make proper picture setup effortless. A viewer who runs a proper grayscale calibration, disables motion smoothing, and dials in a custom color profile gets reference-quality image performance from a mid-range display. The barrier is never the television itself — it’s knowing which twelve settings to change and why each adjustment matters.
In 2024, buying a more expensive television does not automatically buy better picture quality. It buys better panels, brighter peak luminance, and finer local dimming zones. But accurate color, correct gamma, and clean motion rendering are achievable on budget hardware for anyone willing to learn the menu.