The Factory Settings Problem: Built for the Store Floor, Not Your Home
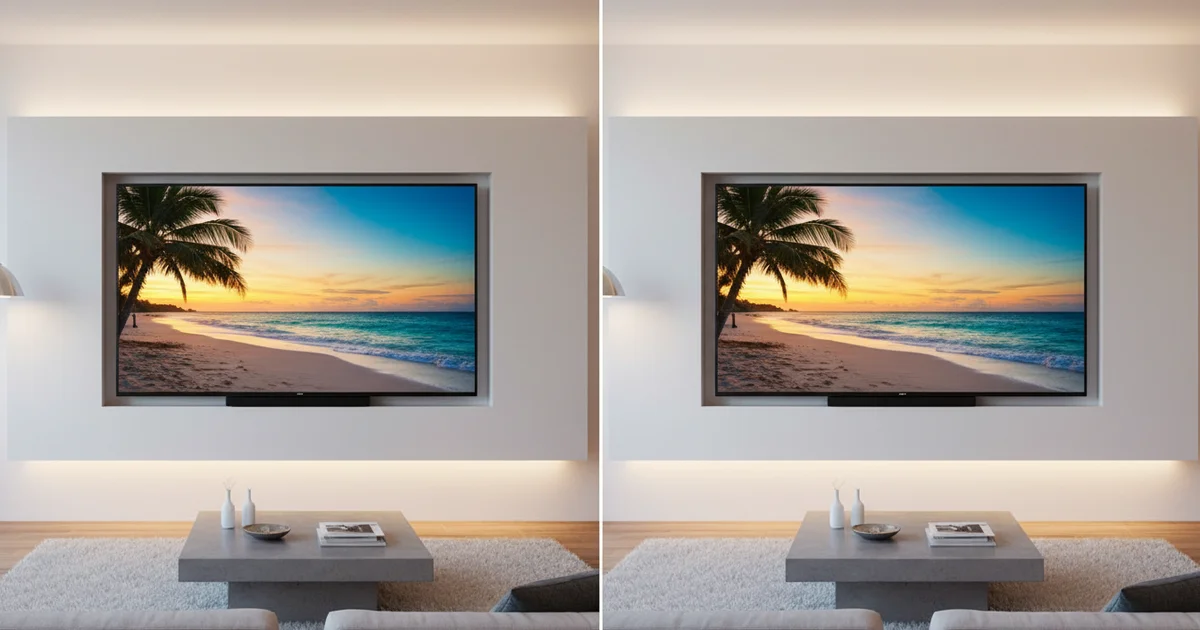
Hisense ships every TV from the factory in a picture mode designed for one environment: a brightly lit retail floor packed with competing displays. That means boosted brightness levels, oversaturated colors, and sharpness settings cranked to extremes — all engineered to grab a shopper’s eye under harsh fluorescent lighting at 50 feet, not to render accurate images in a dim living room at 10.
The moment you carry that TV home, those settings work against you. Skin tones look waxy and artificial. Bright scenes blow out detail. The aggressive sharpness processing adds edge halos around objects that weren’t in the original footage. You’re not watching the picture as the director intended — you’re watching a store demo on loop.
The problem compounds because most owners never touch the picture settings menu. The out-of-box experience feels acceptable, especially compared to an older TV, so the remote goes back on the coffee table and stays there. That’s a costly assumption. Hisense builds a surprisingly deep settings menu into its TVs, covering everything from basic brightness and contrast adjustments to advanced controls like color space management and Calman calibration support for owners with the right equipment.
The gap between default and properly calibrated settings on a mid-range Hisense is not subtle. It’s the kind of difference that looks like a hardware upgrade — sharper shadow detail, natural color rendition, reduced motion artifacting — achieved entirely through software changes that cost nothing. Changes can also be applied per input source, meaning you can dial in separate configurations for streaming, gaming, and cable without resetting everything each time you switch.
Leaving a Hisense on factory defaults is the equivalent of buying a quality speaker system and never moving it out of the box it shipped in. The hardware is capable. The defaults are just not built for you.
The Basics Most Guides Skip: Brightness, Contrast, and Picture Mode
Factory settings on a Hisense TV are calibrated for one environment: a brightly lit showroom floor where the brightest picture wins attention. In your living room, that same configuration actively works against you.
The fastest fix costs you 30 seconds. Open the picture settings menu and switch the Picture Mode from Standard or Vivid to Cinema or Movie. Vivid mode cranks up color saturation and sharpness to unnatural levels, blowing out highlights and making flesh tones look orange. Cinema mode targets a calibrated color temperature closer to the D65 standard used in professional grading suites — which means what you see matches what the director actually intended. No other single adjustment delivers a bigger improvement.
Brightness and contrast cause consistent confusion because the labels lie. On a Hisense TV, the Brightness slider does not control how bright the image looks overall — it controls black levels. Drag it too high and dark scenes turn gray and flat, stripping out shadow detail in night sequences or dimly lit interiors. Drag it too low and blacks crush into a solid void, erasing anything in dark areas of the frame. The correct setting places the slider at the point where near-black objects remain just barely distinguishable. Contrast, by contrast, controls the peak white level. Set it too high and bright scenes clip, losing detail in clouds, snow, or any heavily lit surface.
Hisense’s settings menu runs deeper than most budget-TV buyers expect. Beyond the basic sliders, the interface exposes controls for color space, white balance adjustment, gamma curves, and — on select models — Calman AutoCal support for professional ISF calibration. You can apply changes globally across every input or lock them to a single source, which means you can run a calibrated Cinema profile for your streaming apps while keeping a separate, higher-brightness setup for gaming. That level of granularity is standard on displays costing two or three times as much. The capability is already in your TV. Most owners never open the menu far enough to find it.
Color and Sharpness: Where Most People Are Getting It Wrong
Hisense ships its TVs with sharpness cranked up by default — typically landing between 50 and 60 on a 100-point scale. That sounds reasonable until you understand what the sharpness control actually does at those levels: it applies artificial edge enhancement, drawing halos around objects and introducing a crunchy, over-processed look that has nothing to do with real detail. Genuine 4K resolution doesn’t need help from an edge-enhancement algorithm. Drop sharpness to somewhere between 0 and 10, and the image immediately looks cleaner and more natural, even though the number on screen is dramatically lower.
Color temperature is the second major offender. Hisense defaults to “Cool” or “Normal” on most models, which pushes the white balance toward blue. White shirts look faintly blue, skin tones run cold, and the overall image takes on a clinical cast that feels sharp in a showroom but becomes fatiguing in a dark living room. Switch color temperature to “Warm” or, on sets that offer it, “Expert Warm,” and the white balance shifts to approximately 6500K — the D65 standard used in professional color grading. That’s the temperature at which the director and colorist signed off on whatever you’re watching. Everything else is a departure from their intent.
Saturation and tint adjustments matter most on budget panels, where the color volume is more limited. Hisense’s mid-range and entry-level sets tend to oversaturate reds and greens straight out of the box, which makes foliage look fluorescent and skin tones appear sunburned. Pulling saturation down by 5 to 10 points and nudging tint toward the green end of its scale — just slightly — corrects the most common drift. These aren’t dramatic changes, but skin tones are where human eyes are most sensitive to inaccuracy. A face that looks slightly wrong registers immediately, even if a viewer can’t articulate why.
These three adjustments — sharpness, color temperature, saturation — take under five minutes inside Hisense’s picture settings menu and produce a more accurate image than the factory configuration delivers on any model in the lineup.
Advanced Settings Worth Understanding: HDR, Local Dimming, and Motion
These three settings live deeper in the menu system than most owners ever explore, and each one has a direct, measurable impact on what you actually see on screen.
Local dimming works by dividing the backlight into independent zones and reducing brightness in darker areas while keeping bright areas lit. On Hisense ULED models, this can push contrast performance dramatically higher than the baseline backlight allows. The problem is the default setting — typically set to “High” or “Medium” — often produces blooming, a visible halo of light bleeding around bright objects against dark backgrounds. A white subtitle on a black screen becomes surrounded by a grey cloud. Setting local dimming to “Low” eliminates most blooming while preserving the contrast benefit. For content that’s mostly bright, like daytime sports, turning it off entirely is the cleaner choice.
Motion smoothing — labeled as MEMC or UltraSmooth on Hisense TVs — is switched on by default, and it is the single most damaging setting for anyone watching films. The feature inserts artificially generated frames between real ones to smooth out motion, which removes the cinematic 24fps cadence that directors and cinematographers intentionally use. The result is the soap opera effect: movies look like they were shot on a cheap camcorder. Turn MEMC off completely when watching any film or scripted content. Sports and live events are the only real use case where some motion interpolation makes sense.
HDR tone mapping controls how your Hisense TV compresses the wide brightness range of HDR10 or Dolby Vision content to fit what the panel can physically display. The default tone mapping curve prioritizes peak brightness, which clips shadow detail and crushes subtle gradations in dark scenes. Switching to a more conservative tone mapping option — available in the advanced picture settings under HDR — recovers shadow detail and produces more accurate highlight roll-off. The specific label varies by model, but the option described as “detail” or “natural” consistently outperforms the default for accuracy on Hisense panels.
Room-Specific Calibration: One Size Does Not Fit All
The room you watch in changes everything, and treating your Hisense TV as a single fixed display is the core mistake killing your picture quality.
A living room flooded with afternoon sunlight needs higher brightness levels — typically pushing backlight settings toward 80–100 — along with boosted contrast and cooler color temperatures to cut through glare and preserve detail. That same setup running at night will assault your eyes, crush shadow detail, and make dark scenes look gray and washed out. For a darkened room, dropping backlight to the 20–40 range and shifting color temperature toward “Warm” or “Warm2” immediately produces deeper blacks and more accurate skin tones.
Hisense builds ambient light detection into most of its current U-Series and A-Series models. The feature reads the room through a sensor and automatically adjusts brightness accordingly. For casual daytime viewing, leaving it enabled saves you the hassle of manual tweaks. But automatic systems optimize for average conditions, not ideal ones. When you’re watching a dark thriller or a film with precise cinematography, the sensor’s constant micro-adjustments introduce inconsistency. Disable it, set the picture manually, and the image stabilizes.
The real fix is building multiple saved picture profiles. Hisense’s settings menu lets you apply changes per input source — meaning your HDMI 1 gaming console, your streaming apps, and your Blu-ray player can each carry completely different calibrations. Set a high-motion, high-brightness profile for sports, a cinema-accurate low-backlight profile for movies, and a low-latency Game Mode profile that disables all post-processing for gaming. Switching between them takes seconds.
Most Hisense owners land on one “okay” setting and live with it permanently. The result is a TV that performs poorly in at least two out of three common scenarios. Building three targeted profiles instead of one compromise takes under thirty minutes and produces a genuinely different viewing experience across every context you actually use the TV in.
What This Really Means: Getting Premium Performance from a Budget Brand
Hisense has spent the last several years closing the hardware gap with Sony and Samsung in ways that would have seemed unlikely a decade ago. Their U8 and U9 series now compete directly with mid-to-high-end panels from the established giants, offering Mini-LED backlighting, Dolby Vision IQ, and peak brightness numbers that hold up under scrutiny. The hardware is genuinely capable. The software defaults are where Hisense quietly undercuts itself.
Every Hisense TV ships configured for a retail floor environment — aggressive brightness, oversaturated color, motion smoothing cranked up — settings designed to catch a shopper’s eye under fluorescent store lighting, not to deliver accurate, cinematic images in a darkened living room. Most owners plug in the TV, accept whatever the setup wizard applies, and spend years watching a picture that performs well below what the panel itself can produce.
The 12 settings adjustments outlined in this article cost nothing. No new hardware. No streaming subscription upgrade. No calibration equipment required for most of the changes. Done correctly, they collectively function as a free performance upgrade that transforms how the TV handles color accuracy, black levels, motion, and HDR tone mapping.
This matters more now than it did three years ago. Hisense is actively targeting value-conscious buyers who are making deliberate, researched purchasing decisions — people choosing a U8N over an equivalent Sony X90L specifically because the specifications justify the price difference. Those buyers deserve to know that the specifications they paid for are locked behind settings the factory never enabled.
Understanding how to configure a Hisense set properly is no longer a niche enthusiast concern. It’s a practical step for anyone who bought into the brand’s value proposition and wants to actually receive it. The panel can deliver premium performance. Getting there requires spending about 20 minutes in a menu most owners never open.